SCREENPRINTING HOW TO STEP BY STEP GUIDE FOR BEGINNERS
We have already described what screen printing actually is on our website What is screen printing?. These screen printing instructions, now explain the basics of screen printing in ten simple steps. STEP 1: WHAT DO YOU WANT TO PRINT ON? InWe have already described what screen printing actually is on our website "What is screen printing?". These screen printing instructions, now explain the basics of screen printing in ten simple steps.
STEP 1: WHAT DO YOU WANT TO PRINT ON?
In the first step, you need to decide what surface you would like to print your design on. There is an optimum screen mesh and corresponding inks for every material used for printing. Therefore, it is important that you know from the start exactly what material should be printed on. That will then indicate what screen mesh is the best option for you.
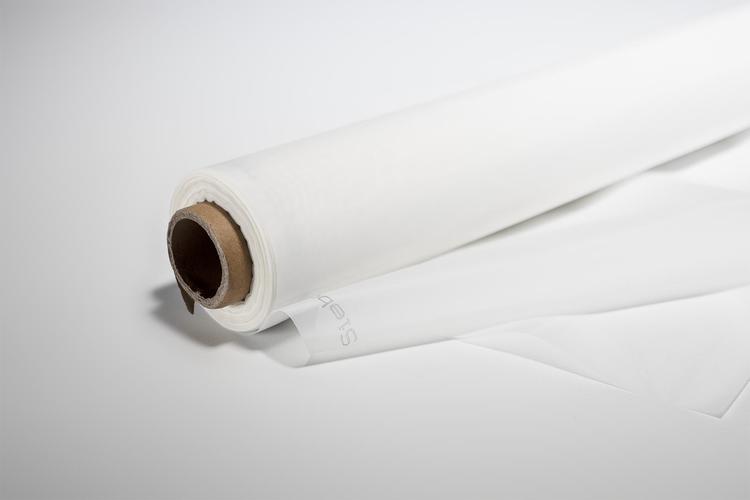
Ready to use Screen printing frames with mesh not only come in various sizes but also the fineness of the mesh is varied. It is important that you select the correct screen mesh for printing. For the first prints on textiles we recommend a frame with the mesh type 54T, an all-round Screen Printing Mesh for various areas of application.
The first prints on paper can be done with a screen printing frame with a mesh with type 90T. If you want to look more closely at the classification of the mesh types and their areas of application, then simp-ly look at our table on the page what is screen printing. By means of the table, you can then choose the appropriate screen printing frame with the correct mesh fineness for your project.
STEP 2: SELECTION OF THE DESIGN AND PREPARING THE GRAPHICS FOR SCREEN PRINTING
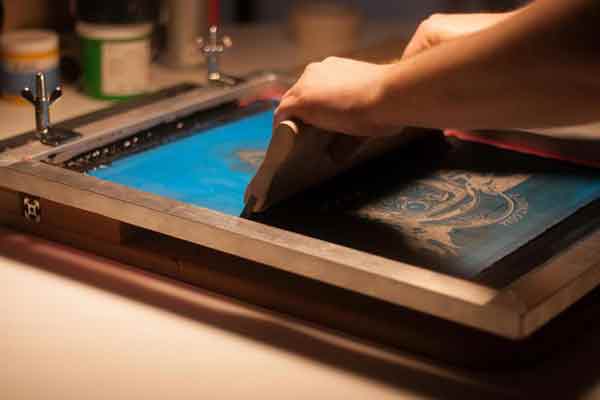
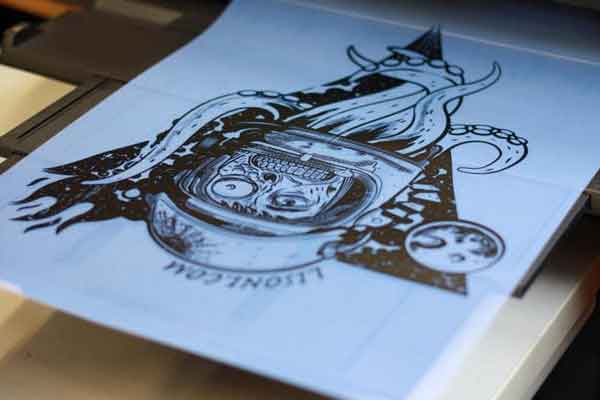
After you have decided what material you want to print, you still need to select and prepare the design so that it can be used for screen printing. We strongly recommend using single-colour designs with solid colours for the first prints and thus without colour gradients. I.e. Writing and simple, solid colour areas are especially suited to this. Colour gradients (such as i.e. with photos) and multi-coloured designs can indeed be printed in screen printing, but they are more difficult to achieve and not recommended for beginners. These subjects will be dealt with later elsewhere.
In order to edit a design in such a way that is can be used a template for your exposure, it must be presented as a completely black graphic. (RGB:000000 or CMYK: 10, 0, 0, 100). The design must be then be printed on a transparent foil with an inkjet or a laser printer. For inkjet prints we recommend the use of our milky screen printing films. We recommend Photoshop as an imageediting programme. However, this is not absolutely necessary. Free-of charge programmes for editing graphics are i.e. Paint.net and Inkscape (for vector graphics).
It is therefore essential that the foils with your design are printing in deep black so that no light can penetrate through the design. After printing it out, it is best to hold the foil once against the light. You should not be able to see through the print. If you do not succeed with such a printout, then it is best to print out two foils. You can then superimpose them during exposure.
Photos and graphics with colour gradients can, however, also be printed in screen printing. Here, the photographic material must first be converted to halftones. We will explain this process later elsewhere.
STEP 3: THOROUGHLY CLEAN THE SCREEN PRINTING FRAME BEFORE USE

Before the first use, the screen printing frame must be free from grease (no finger prints) and free from dust particles, so that the photographic emulsion can adhere well. After unpacking the frame, it must first be cleaned with degreaser, thoroughly washed off and then dried.
The degreaser is not dangerous and thus it can be normally disposed of in the waste water. You can also wash it in the bath tub or in the shower. The screen printing frame can then be dried with a hair dryer. Please keep a distance here of approx. 10 cm from the screen because it can also rip if the temperature is too high. Alternatively, the frame can be dried in the open air or on a heater.

screen printing step by step guide
Pre:SCREENPRINTING HOW TO STEP BY STEP GUIDE FOR BEGINNERS
Next:What is the type of screen printing blade? How to choose the right squeegee?


Tags:
 WhatsApp