Why getting your screen printing frame sizes right matters more than you think
To finalize your choices of screen printing frame sizes, use this short workflow:
Choosing the right screen printing frame sizes is one of the most practical decisions you’ll make for predictable, high-quality output. A frame that’s too small forces awkward placement, creates registration headaches, and increases the chance of squeegee mis-pulls. A frame that’s too large wastes shop floor space and increases handling difficulty. Right-sizing frames for your artwork, platen and production style shortens setup time, lowers waste, and makes first-pass prints far more likely to succeed.
The simple anatomy of frame dimensions and what they mean
When buyers look at screen printing frame sizes, they’re usually deciding between outside dimensions (the full frame footprint), inside (image) dimensions, and the maximum recommended printable area. A good product page or spec sheet will show both outside and inside dimensions and will note the “safe image” area — effectively the region where a squeegee can comfortably operate. Knowing these numbers makes it easy to pick a frame that fits your platen and gives the operator enough border to pull cleanly.
Standard sizes you’ll see and why they’re popular
Certain screen printing frame sizes are stock staples because they match common platen and press setups. Examples include small classroom sizes, production-friendly sizes, and larger specialty formats:
-
Small / hobby: 8×10, 10×14 — excellent for tests, patches, and small paper prints.
-
Apparel production (common): 16×20, 20×24, 20×28 — useful for chest prints and many manual presses.
-
Higher-capacity / large art: 23×31, 25×36, 30×40 — more common in production environments and for large-format prints.
-
Very large: 36×48 and larger — used in specialty fabric printing, signage and industrial runs.
Stocking a sensible mix of these screen printing frame sizes gives most shops the flexibility they need without bloating inventory.
How to pick a size from your art — practical rules
A reliable rule when matching art to screen printing frame sizes is to leave an operational border on all sides — typically 2–3 inches beyond the artwork so the squeegee has clearance and you can clamp the frame. For example, a 12×16 artwork often fits comfortably into a 16×20 or 20×24 frame depending on the placement and how much border you prefer. If you plan multicolor registration, err on the side of more border for easier alignment.
Press type, platen and how they constrain frame choice
Your press and platen geometry are the next constraints. Automatic presses often require exact outside frame dimensions to fit clamps; many manual platens work well with 20×24 as a go-to size. When evaluating screen printing frame sizes, measure the maximal frame footprint your press will accept and make sure you have clearance for clamps and off-contact adjustments. If your press has custom clamps, match the frame outside dimensions to avoid surprises.
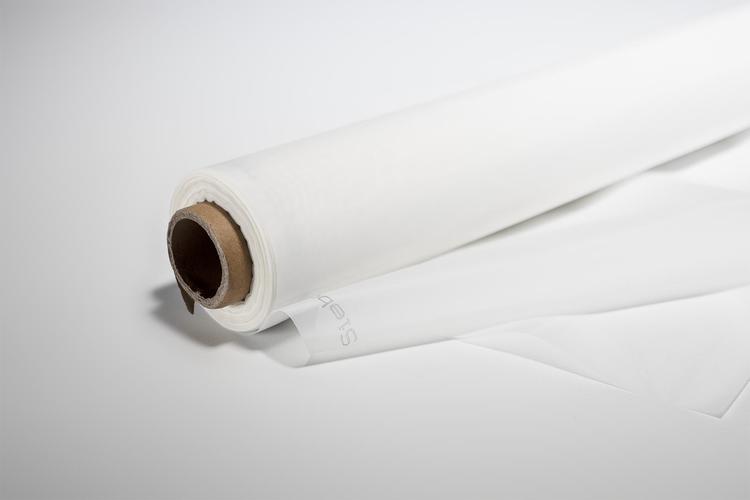
How mesh count interacts with frame size for different jobs
Mesh count pairs with screen printing frame sizes to produce the final effect. Low mesh counts (for instance 110–156) on a larger frame are ideal for heavy ink deposits and bold graphics; high mesh counts (200–305+) on medium or small frames produce finer halftones and clean detail. If you order pre-stretched frames, decide the mesh and frame size together: the same outside frame can be filled with different mesh counts to suit different jobs.
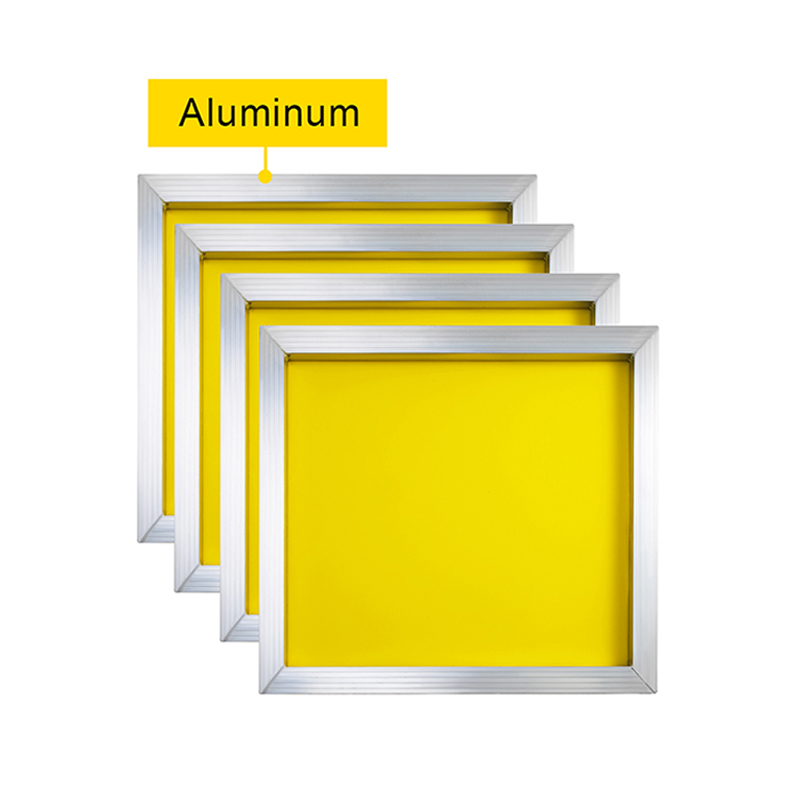
Aluminium vs wood frames — how material affects the usable size
When thinking about screen printing frame sizes, you’ll also pick frame material. Aluminium frames keep tension more stable at larger sizes and resist warping from humidity — critical for larger screen printing frame sizes that routinely see higher tension. Wooden frames are economical on small sizes and fine for short-run jobs, but for frequent use and bigger frames, aluminium is the long-term performer.
Pre-stretched vs remeshable frames — which sizes favor which approach
Pre-stretched frames are convenient and time-saving and are commonly stocked in popular screen printing frame sizes. They are ideal when you need immediate use. Remeshable frames are favored for larger and specialized sizes where long-term flexibility or cost savings matter — you change the mesh rather than replace the whole frame. Production shops often keep a mix: pre-stretched small frames for rush jobs and remeshable larger frames for heavy throughput.
Special considerations for specialty substrates and specialty sizes
Printing on sleeves, bags, or awkwardly shaped products often requires narrow or custom screen printing frame sizes. Sleeve boards, cap screens and half-platen work commonly need non-standard frames or trimmed meshes. When planning specialty jobs, measure your substrate and test a mock-up to confirm the frame size is practical for squeegee motion and clamp access.
Inventory strategy — how many sizes should you stock?
A pragmatic inventory strategy ties stock to two numbers: frequency of use and changeover cost. For most shops, a small kit of three to five common screen printing frame sizes (e.g., one small test size, two medium production sizes and one or two large formats) covers the majority of jobs. Keep one or two “odd” sizes if you run a niche product; otherwise, avoid over-collecting frames you rarely use. That reduces storage and handling overhead while keeping flexibility.
Measuring and ordering — a quick checklist to avoid mistakes
When placing orders for screen printing frame sizes, do this short checklist to avoid returns and fit issues:
-
Measure your platen/clamp footprint precisely (outside dimensions).
-
Decide whether you want pre-stretched or remeshable within your chosen size.
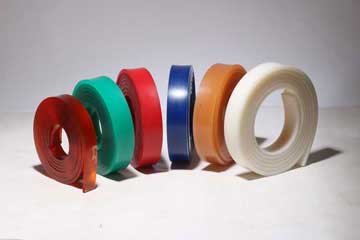
-
Choose mesh count and specify whether you want monofilament or multifilament mesh.
-
Confirm spline groove type and spline diameter (for remeshable frames).
-
Ask for flatness and tension specs if your jobs require fine halftones.
A few minutes of measurement prevents hours of rework.
Delivery, inspection and quick incoming QC
When stock arrives, run a basic incoming inspection to verify the frames are correct size and condition. Lay the frame on a flat surface and check for twist or warp, confirm spline grooves and corner welds look clean, and if pre-stretched, eyeball mesh tension uniformity. Good suppliers will publish outside and inside dimensions and can provide certified flatness for production-grade screen printing frame sizes.
Case example — how choosing the right size changed throughput
A boutique apparel shop standardized around three screen printing frame sizes that matched their platen set and artwork mix. They kept one pre-stretched 20×24 for fast jobs, a 23×31 for larger art, and a remeshable 30×40 for seasonal specials. Changeovers dropped, first-pass success improved, and screen storage became simpler — a straightforward example of how sizing choices translate directly into operational efficiency.
Final recommendation — a decision workflow you can use now
To finalize your choices of screen printing frame sizes, use this short workflow:
-
Step 1: List your three most common print widths and heights.
-
Step 2: Measure platen/clamp limits and select matching outside dimensions.
-
Step 3: Choose one pre-stretched size for quick work and one remeshable size for production.
-
Step 4: Pair mesh counts with chosen sizes (lower mesh for heavy ink deposit, higher mesh for detail).
-
Step 5: Order sample frames if you’re changing press geometry — test before bulk buys.
Make these choices once, standardize them, and you’ll spend less time troubleshooting and more time printing.
Pre:Why choosing the right aluminium screen printing frame changes every run
Next:Why choosing the right standard screen printing frame size matters for your shop


Tags:
 WhatsApp