How to Restretch a Silk screen Frame With Adhesive
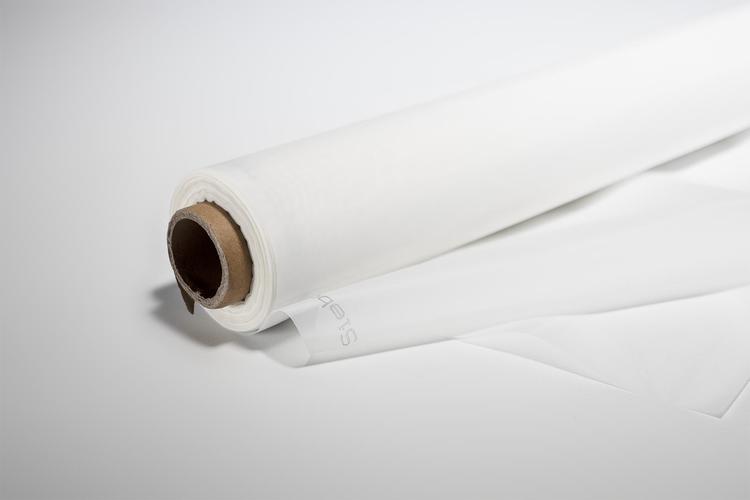
Silkscreen printing is a printing style that uses a piece of fabric, called mesh, stretched over an aluminum or wood frame. The mesh is stenciled, and then ink is rolled on and pressed to create an image on an object. The process is used for clothing, decSilkscreen printing is a printing style that uses a piece of fabric, called "mesh," stretched over an aluminum or wood frame. The mesh is stenciled, and then ink is rolled on and pressed to create an image on an object. The process is used for clothing, decals, product labels, signs, displays and even balloons. Most modern mesh is made out of steel, nylon or polyester and as it is used, it becomes slack, which affects the printing quality. Printing businesses have to decide whether they will send their frames to a printing supplier to be re-stretched, or if they will do it themselves using glue and a stretching frame. This article will tell you how to re-stretch a silkscreen frame with adhesive.
-
 1Clean your silkscreen frame with a unbinding solvent like acetone. This will remove ink, oil, dirt and remaining adhesive from your frame.
 -
 2Peel the used mesh off the frame after the acetone solvent has been used to clean the adhesive off.
 -
 3Use 80-grit sandpaper to roughen up the areas of your frame that will be glued, if your frame is wooden. It helps overall adhesion by creating places on which the glue can easily attach and hold.
- Aluminum frames do not need to be sanded.
-
 4Wipe the frame with a tack cloth.
 -
 5Choose an adhesive. They are often identified by low and high viscosity, and what you need will depend on your mesh count. There are many trade grades of adhesive available for mesh counts from 110 to 355. Ask your printing supplier for recommendations. The right adhesive is essential to bond the fabric to the frame.
 -
 6Cut a new piece of mesh to size that is slightly bigger than the frame. Mesh is sold by the meter.
 -
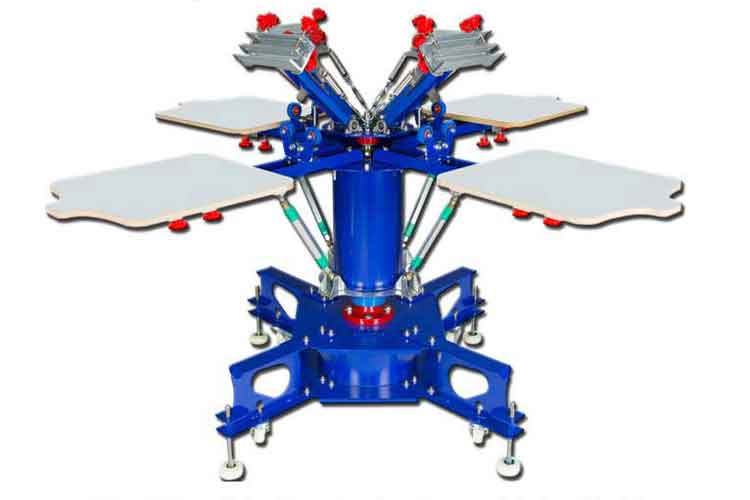
 7Place the frame on wooden blocks in the middle of your screen stretching machine or device. The wooden blocks will increase the tension between the stretching device and the mesh.
 -
 8Place the mesh over the frame and insert it into the tension bars on your stretching device.
 -
 9Increase the tension slowly, checking the tension with a mesh tension meter, until you have reached the tension that was last used on the frame.
 -
 10Apply a thin coat of adhesive where the fabric attaches to the frame using a plastic applicator or a tongue depressor. A thick coat increases drying time and may not dry correctly. Add another thin coat if you feel that the first coat was not strong enough.
 -
 11Allow the adhesive to dry and cure according to package instructions.
- If you have chosen to activate the adhesive with cyanoacrylate adhesive, a substance similar to super glue, be sure to mist it very lightly, or it could adversely affect the glue's adhesion.
- This glue is often referred to as s a "kicker" because it is a quick and secure way to bond the glue. However, it is harder to control than the liquid adhesive. Make sure not to cover too much of your mesh with the "kicker."
-
 12Use weights on top of the drying frame to ensure it does not warp or bend. A warped frame would unevenly distribute ink during silk screening.
 -
 13Remove the tension bars and cut any excess mesh surrounding the frame. Now you can add your stencil and begin printing.


Silk Screen Frame
Pre:Aluminum Screen with 125 White Mesh 20" x 24"
Next:20 x 24 silk screen


Tags:
 WhatsApp