How to use a nut milk bag
How to use a nut milk bag Nut milk bags are a versatile kitchen tool used to make homemade nut milk, juices, and even to strain yogurt or cheese. They are made of fine mesh material and are designed to separate the liquid from the solids, leaving behind aHow to use a nut milk bag
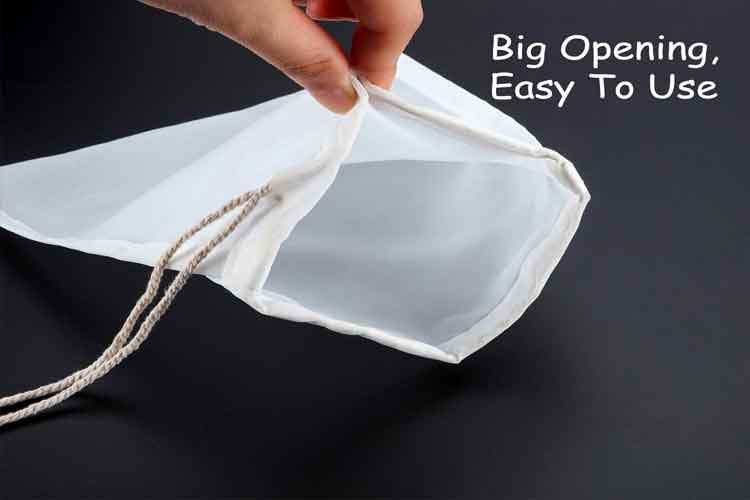
Nut milk bags are a versatile kitchen tool used to make homemade nut milk, juices, and even to strain yogurt or cheese. They are made of fine mesh material and are designed to separate the liquid from the solids, leaving behind a smooth, creamy liquid. Here is a step-by-step guide on how to use a nut milk bag.
Step 1: Prepare the Nut Milk Bag
Before using the nut milk bag, make sure to wash it thoroughly with warm, soapy water. Rinse it thoroughly and let it air dry or pat it dry with a clean towel. Once the bag is clean and dry, open it up and place it inside a large bowl or pitcher. Ensure that the top of the bag is folded over the rim of the bowl or pitcher to keep it in place.
Step 2: Prepare the Nut Milk
The next step is to prepare the nut milk mixture. Take your desired nuts or seeds, such as almonds, cashews, or hemp seeds, and soak them in water for at least 4-8 hours, or overnight. This step softens the nuts and makes them easier to blend. Once the nuts have soaked, drain the water and rinse them with fresh water. Place the soaked nuts in a blender with fresh water and blend until smooth.
Step 3: Strain the Nut Milk
Once the nut milk is blended, pour it slowly into the nut milk bag that is already in the bowl or pitcher. Ensure that the bag is securely positioned so that the liquid does not spill out. Using your hands, gently squeeze the bag to release the liquid into the bowl or pitcher. This process will take a few minutes, and it is essential to be patient and gentle while squeezing the bag. The goal is to extract as much liquid as possible while leaving the solids behind in the bag.
Step 4: Store and Use the Nut Milk
Once you have finished straining the nut milk, you can transfer it to a glass jar or bottle for storage. Store the nut milk in the refrigerator for up to 4-5 days. You can use the nut milk in smoothies, coffee, tea, or any other recipe that calls for milk.
Step 5: Clean the Nut Milk Bag
After using the nut milk bag, it is essential to clean it thoroughly to avoid any residual bacteria growth. Rinse the bag under running water, turning it inside out to remove any leftover solids. If necessary, use a mild soap to clean the bag. Once clean, hang it to air dry or place it in the dryer on low heat.
Conclusion
Using a nut milk bag is a simple and easy process that can help you make delicious and healthy nut milk at home. With just a few simple steps, you can create a smooth and creamy nut milk that is free of preservatives and additives. By following the above steps, you can use a nut milk bag to create delicious nut milk in just a few minutes.

Nut Milk Bag
Next:Screen print clamps


Tags:
 WhatsApp